recv-s3-v1
This plugin picks up files from an AWS S3 bucket and puts the files into the channel to send outbound.
How does it work?
- Your S3 bucket needs to send messages to an SNS Topic you own whenever new files arrive
- Your AWS account gives permission for our AWS account to subscribe to your SNS Topic
- Your AWS account must give at least read only access to your S3 bucket to read the file
We have an automatic Cloudformation template via our UI you can run in order to set all this up using a new or existing bucket. However, if you want to do things manually and change things up as you go, follow the instructions below.
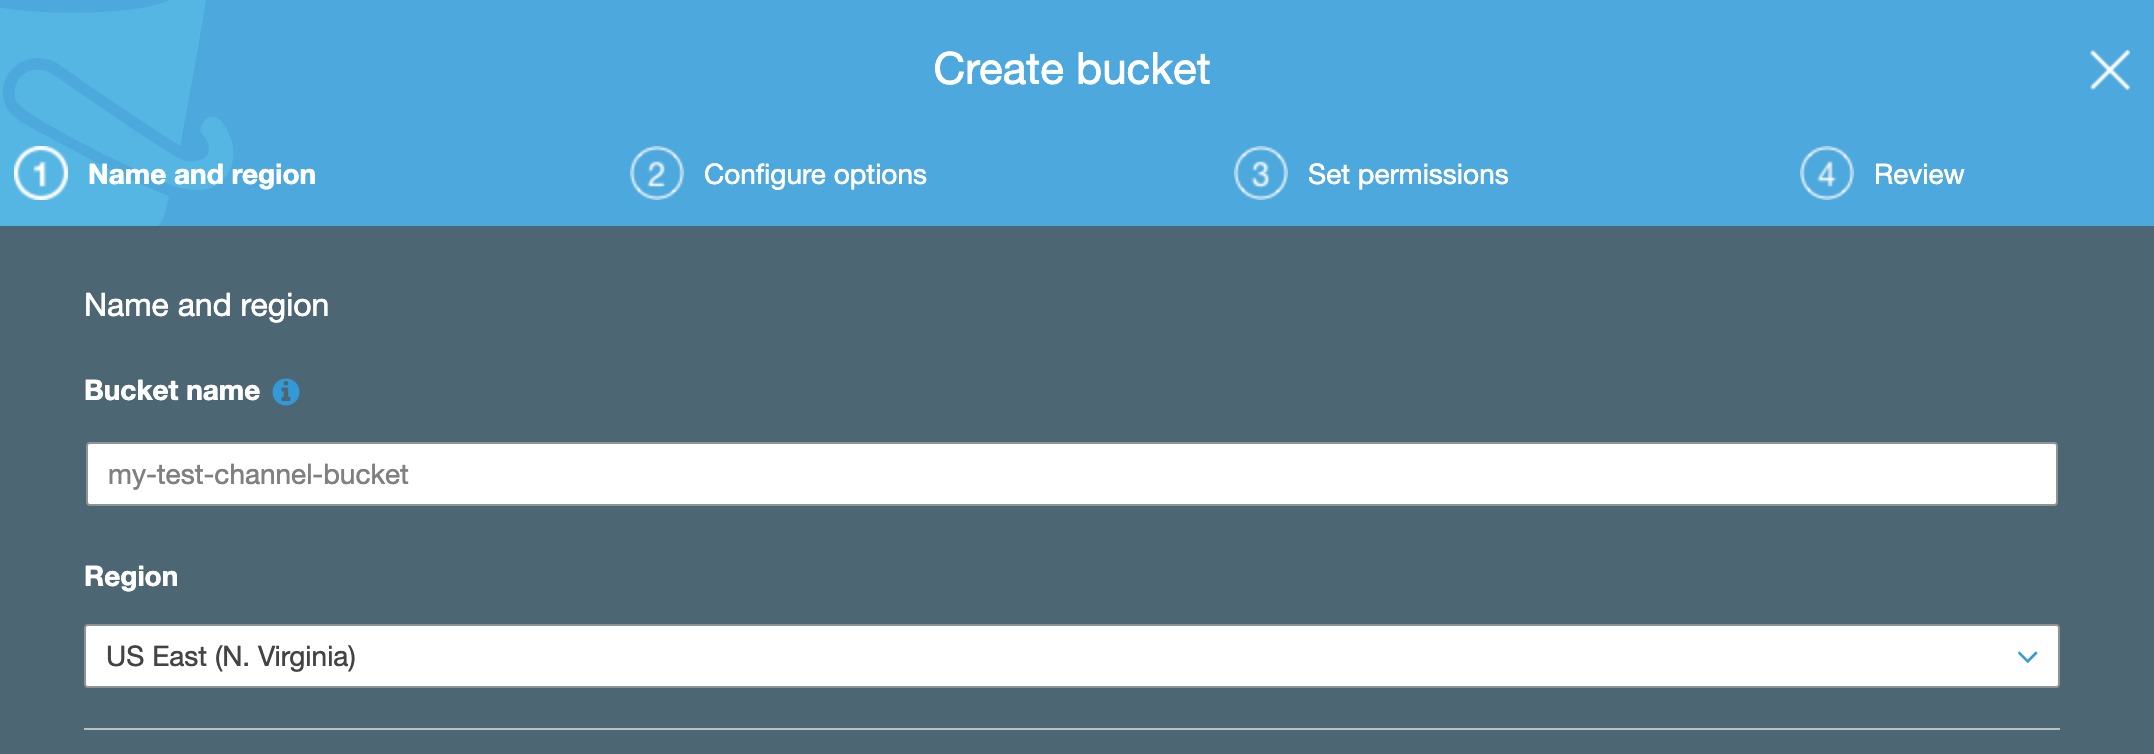
Create or use an existing bucket
Create a new AWS bucket in the S3 console or cli, or you can use an existing bucket, we'll update the permissions in a later step.

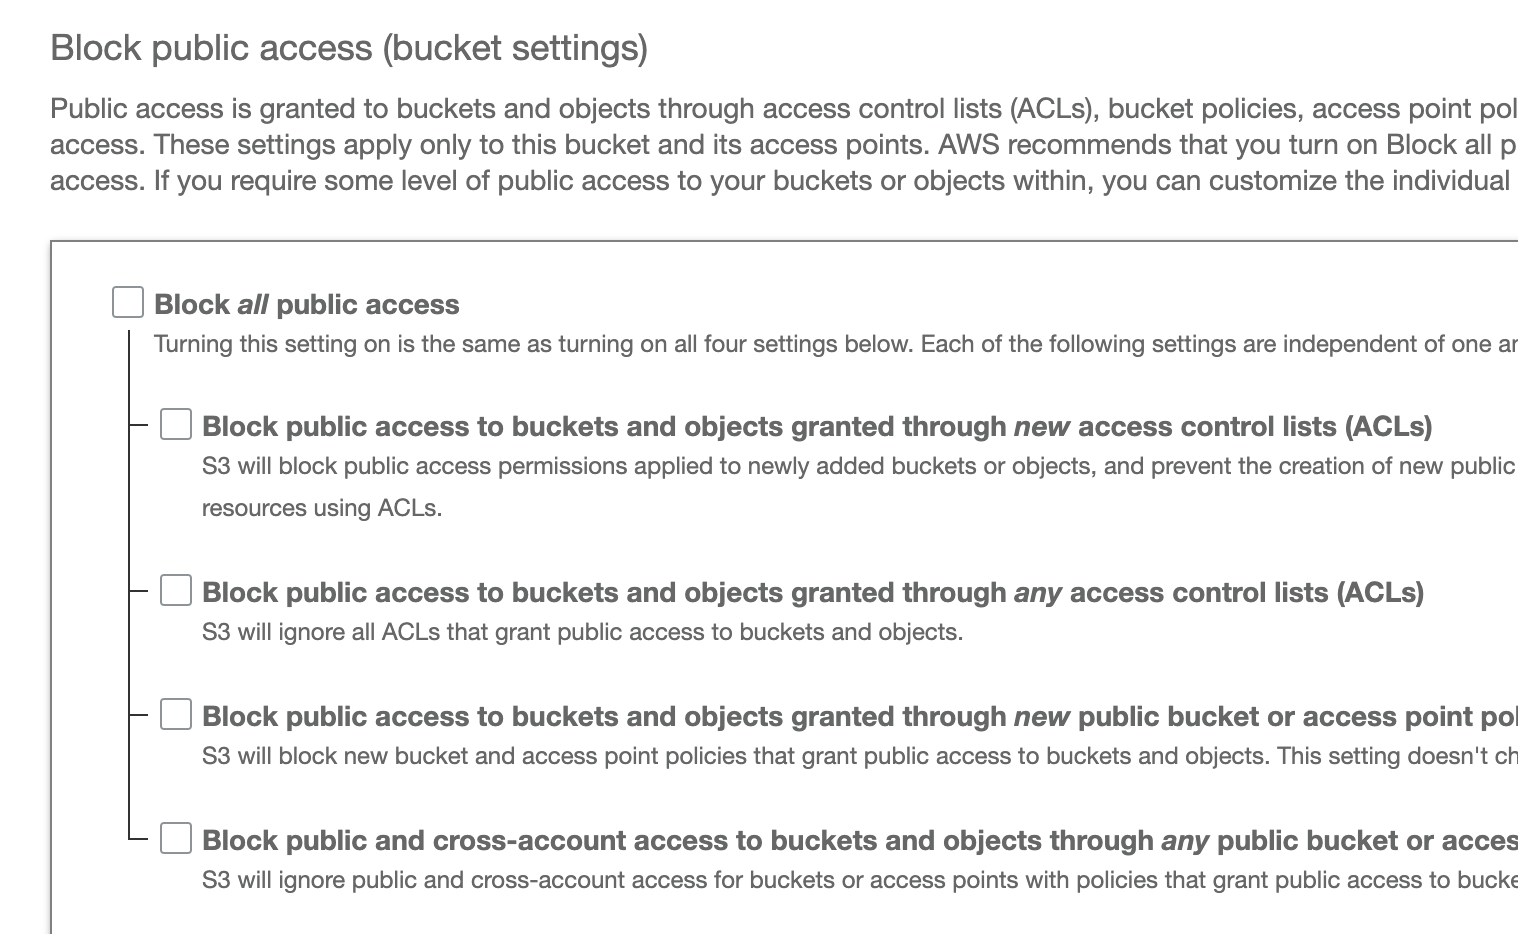
Disable block public access
For DocEvent.io to read the access using the Readonly ACL we'll create later, you need to first disable block public access.
Click the Permissions tab then select Block public access and Edit, then turn Off all block public access settings, like so:
Don't worry, we'll set a bucket policy later on to ensure only DocEvent.io has read access to this bucket.

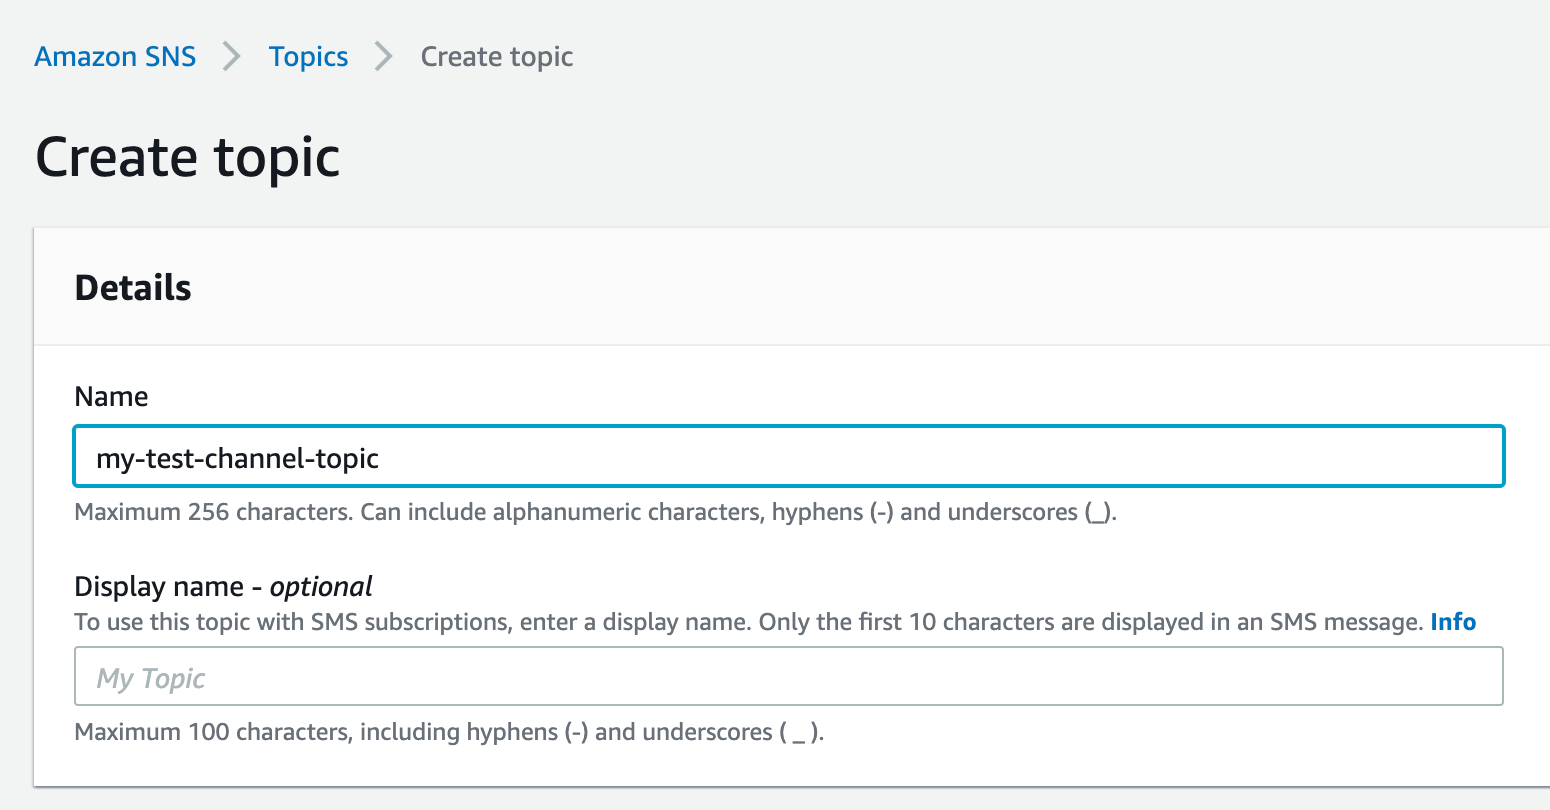
Create an SNS Topic
A new topic needs to be created in the same region where you are creating the DocEvent.io Channel. Create it from the SNS interface like so:

Add permissions to the AWS bucket
The S3 bucket must allow the DocEvent.io AWS accounts to read files from them. To do this view the bucket then click Permissions tab then View Bucket Policy. You will need to enter the following policy:
Be sure to replace YOUR-BUCKET-NAME with your actual bucket name.
{
    "Version": "2012-10-17",
    "Id": "ReadOnlyAccessPolicy",
    "Statement": [
        {
            "Sid": "AllowReadOnlyAccess1",
            "Effect": "Allow",
            "Principal": {
                "AWS": "arn:aws:iam::841260601650:root"
            },
            "Action": "s3:GetObject",
            "Resource": "arn:aws:s3:::YOUR-BUCKET-NAME/*"
        },
        {
            "Sid": "AllowReadOnlyAccess2",
            "Effect": "Allow",
            "Principal": {
                "AWS": "arn:aws:iam::951067121082:root"
            },
            "Action": "s3:GetObject",
            "Resource": "arn:aws:s3:::YOUR-BUCKET-NAME/*"
        }
    ]
}
Add permissions to the SNS Topic
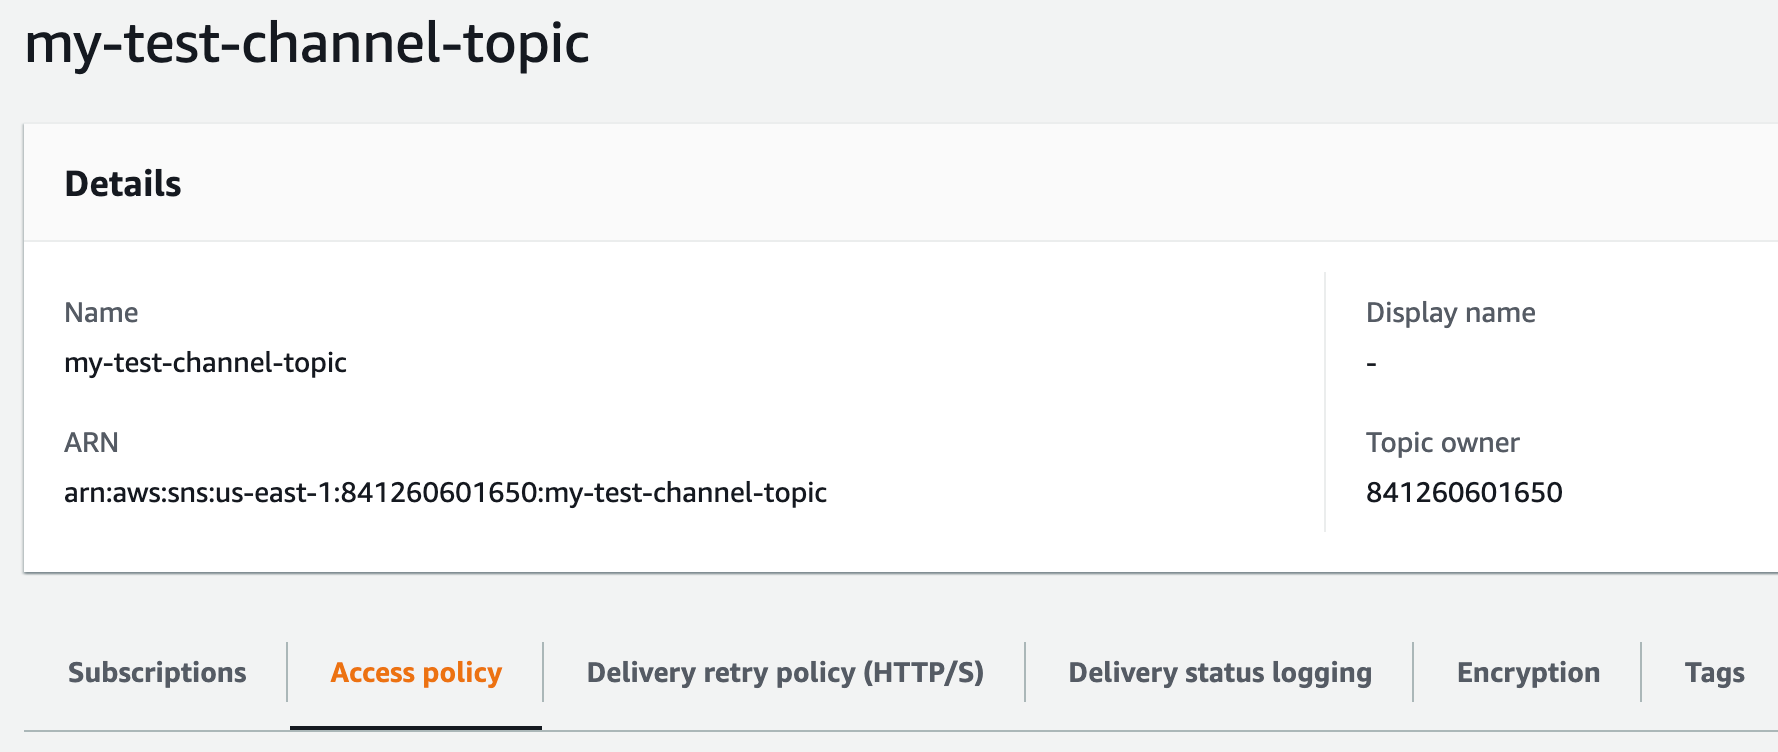
The SNS Topic you created also needs to give DocEvent.io permission to subscribe to the Topic to be able to be notified whenever a new message/file arrives.
To do this, you need to select the topic in Amazon SNS, click on the Access policy tab, and add the following 2 records the Policy Statement:
Be sure to replace YOUR-BUCKET-NAME with your actual bucket name.

{
  "Version": "2012-10-17",
  "Id": "TopicPolicy",
  "Statement": [
    {
      "Sid": "AllowBucketPublish",
      "Effect": "Allow",
      "Principal": {
        "AWS": "*"
      },
      "Action": "sns:Publish",
      "Resource": "*",
      "Condition": {
        "ArnLike": {
          "aws:SourceArn": "arn:aws:s3:::YOUR-BUCKET-NAME"
        }
      }
    },
    {
      "Sid": "AllowDocEventSubscribe1",
      "Effect": "Allow",
      "Principal": {
        "AWS": "arn:aws:iam::841260601650:root"
      },
      "Action": "sns:Subscribe",
      "Resource": "*"
    },
    {
      "Sid": "AllowDocEventSubscribe2",
      "Effect": "Allow",
      "Principal": {
        "AWS": "arn:aws:iam::951067121082:root"
      },
      "Action": "sns:Subscribe",
      "Resource": "*"
    }
  ]
}
Create a link between S3 and the SNS Topic
Choose the bucket, then click on the Properties tab then scroll down and click on Events, then choose + Add notification, select:
- Events: PUT
- Send to: SNS Topic
- SNS: Specify the SNS topic you created earlier
Create the service in DocEvent
Now you can continue to create the service in DocEvent.io by:
- Entering your AWS Bucket Name
- Entering your AWS SNS Topic
Doing the above automatically
DocEvent provides a Cloudformation script you can run in your AWS environment to automatically achieve the above by simply clicking a button.
It works with either a new bucket, or an existing bucket.
.png)